Wish you all a very happy Republic day of Tech Khan team
Republic Day is a national festival of India. It is celebrated on 26 January. On this day, parades and cultural activities take place on the Rajpath in Delhi. The Constitution of India came into force on this day in 1950.
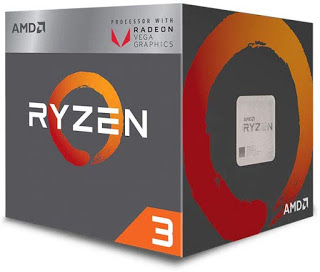
Today we will build pc in 30k, this pc build will be Apu base, so we will go with ryzen 5 3400G in this build, you get this CPU RX Vega 11 Graphics is designed to provide incredible power for your desktop. The 4 Core processor comes paired with a 11 Core GPU to provide the best of experience and console like gaming. In this you get 8 threads based clock speed 3.6 GHz and Max boost clock speed 3.9 GHz Orris’s TDP 65w in this AM4 Chipsets. and motherboards wish memory 6Mb
In this we use motherboard
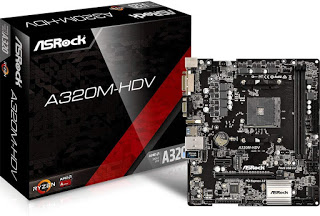
GIGABYTE GA-A320M-S2H AMD A320 AM4 MAX-32GB DDR4 Micro ATX PCIE16 It is not necessary to update the bios before using this motherboard, so you may have problems if you build pc
Will use ram in it
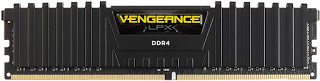
Corsair Vengeance LPX 8GB DDR4 3000 (PC4-24000) C16 PC Memory (CMK8GX4M1D3000C16) I am using a stick of 8GB in it, you may want to use two sticks of 4GB
In this we will use the PSU and cabinet combo, this combo we will use Corsair Corsair Spec 1 Cabinet + 450W PSU
Hi friends I am Altaf Khan. If your budget is low and you want to build a gaming PC, then you can go with AMD and do some good gaming in budget with AMD. Today we will go with AMD in this build. In this PC build, we will build a PC for only RS 20,000. In this build we will use AMD’s APU (Accelerated Processing Unit) Ryzen ™ 2200G, in this IGPU Vega 8 Graphics is available. Price :- RS. 6500
Each vengeance LPX module is built with a pure aluminium heat spreader for faster heat dissipation and cooler operation
Available in multiple colours to match your motherboard, your components, or just your style
Vengeance LPX is optimized and compatibility tested for the latest Intel Z370 series motherboards and offers higher frequencies, greater bandwidth, and lower power consumption
The Vengeance LPX module height is carefully designed to fit smaller spaces
XMP 2.0 enabled for superior overclocking
Warranty, Parts: Lifetime Warranty(Max 10 Years)
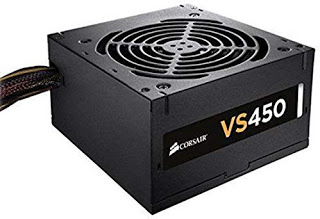
Corsair VS450 450-Watt Power Supply will be used to power this PC Price:- RS.2496
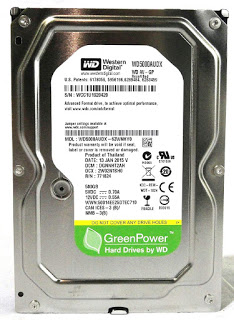
Multiple capacities with space for applications or a hard drive replacement
Capacity: 240GB, Interface: SATA Rev. 3.0 (6Gb/s) – with backwards compatibility to SATA Rev. 2.0. 240GB — 500MB/s read and 350MB/s write
Total Bytes Written (TBW)4: 80TB
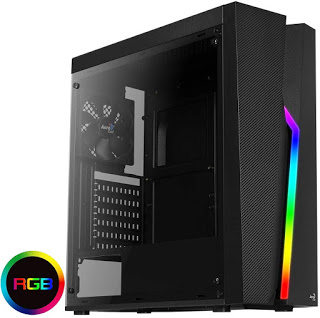
In this pc, we have the cabinet Aerocool Bolt RGB PC Gaming Case, ATX / Micro-ATX / Mini-ITX, AcrylicSide Panel, RGB LED Strip Included, 13 Lighting Modes,1 x 120mm Black Fan Included, High Performance ATX Case | Black, will use, Price :- RS. 2631
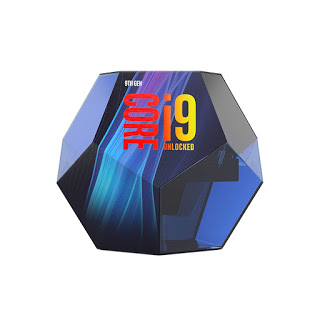
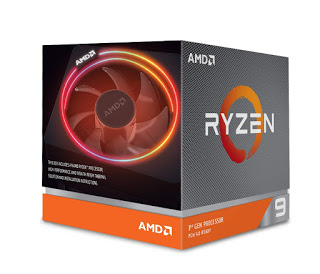
hi friends is post mein ham intel i 9 aur amd ryzen 9 mein kamperijan karenge intel ko hamesa amd se achchha maana jaata hai yah sahee kyonki intel kee praaphormins amd se achchhee hai lekin ab amd bhee intel ko takar de raha hael meing gem fps mil jaate hai amd mein samud geming hotee hai intel aur amd mein ek sabase bada diphrins prais hai
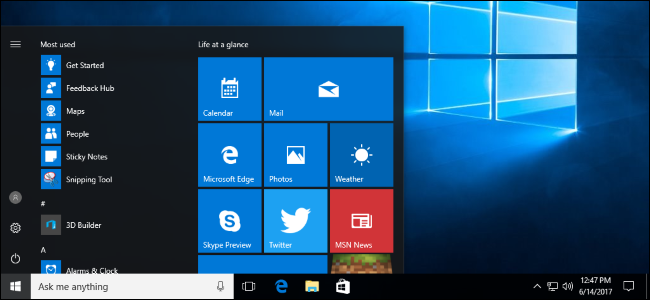
hi In this post we will know who install Windows 10. First of all, here is the question, why do you want to install Windows 1 If you have built a new PC, then you have to install Windows. 2 Even if your Windows gets corrupted, you still have to install Windows. If you go to install Windows at a computer shop in the market, then it charges 300-400 rupees from you and does not even provide Windows Activate. Today we will install Windows. You must have a bootable pendrive or cd drive to install Windows. Friend, now we are moving to Windows installation
Step 1: – Firstly configure the pendrive or cd in your pc or laptop, then start your pc or laptop, press the delete key on the keyboard, now you have entered the bios. And serve. Now your pc or laptop will be restarted. If you are installing from cd, after restart, press any key on the keyboard.
Next step: – Select language and time and currency and keyboard and press Next button
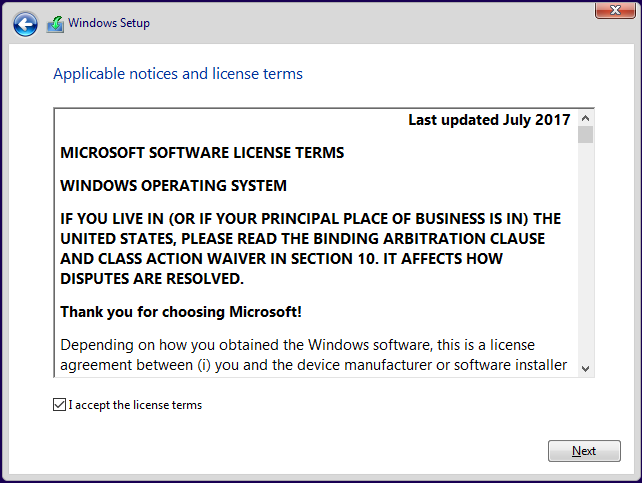
Next step: – Press i ACCEPT THE LICENSEE TERMS AND PRESS NEXT
Next step: – Press Install Now button
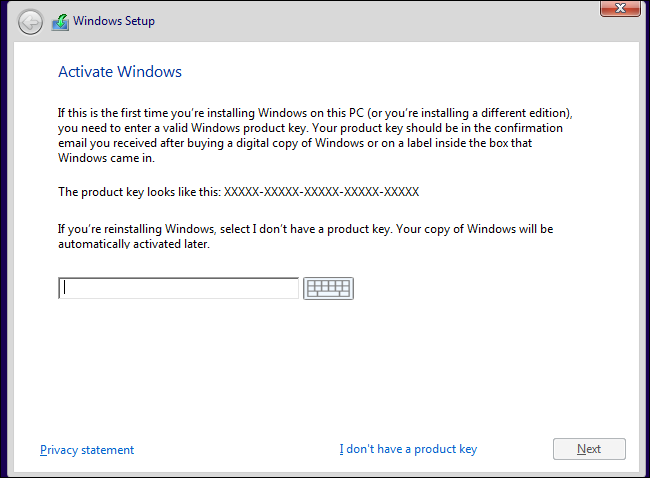
Next step: – Insert the inter for product key and press on the next button, if you do not have the key , then I don’t have a product key
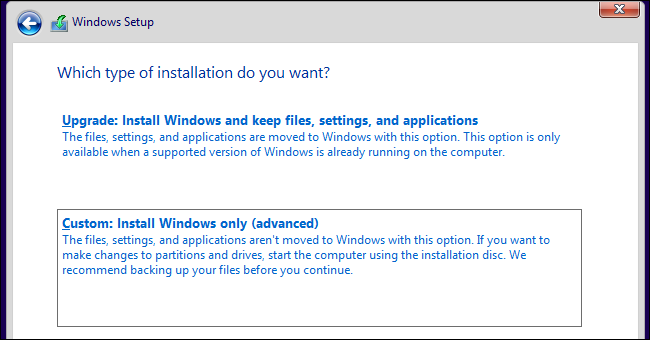
Next step: – Select Custom: Install Windows only (advanced)
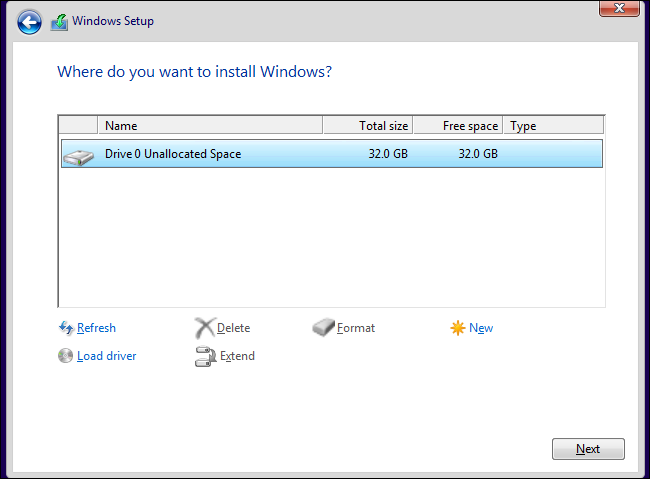
Next step: – Select your disk for Windows install and press Next
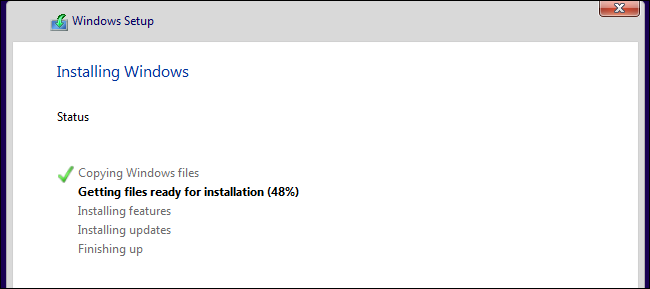
Now your Windows is being installed.
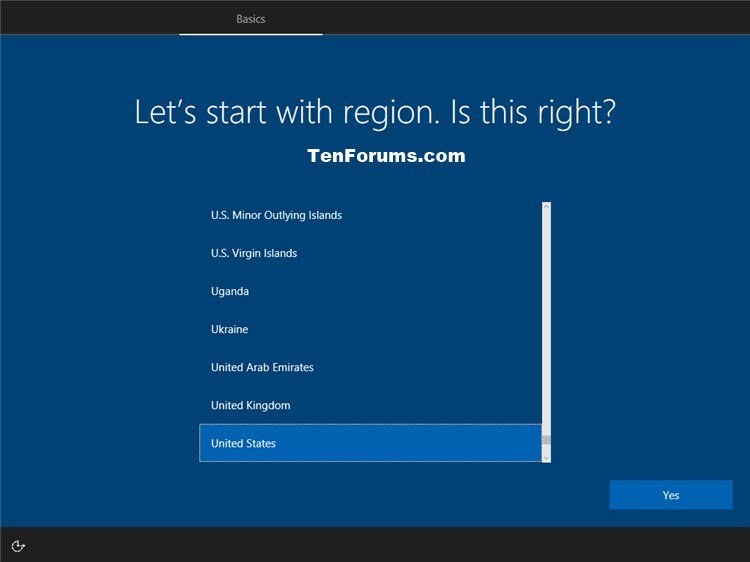
Now your computer will be restarted. Some settings have to be selected after restart.
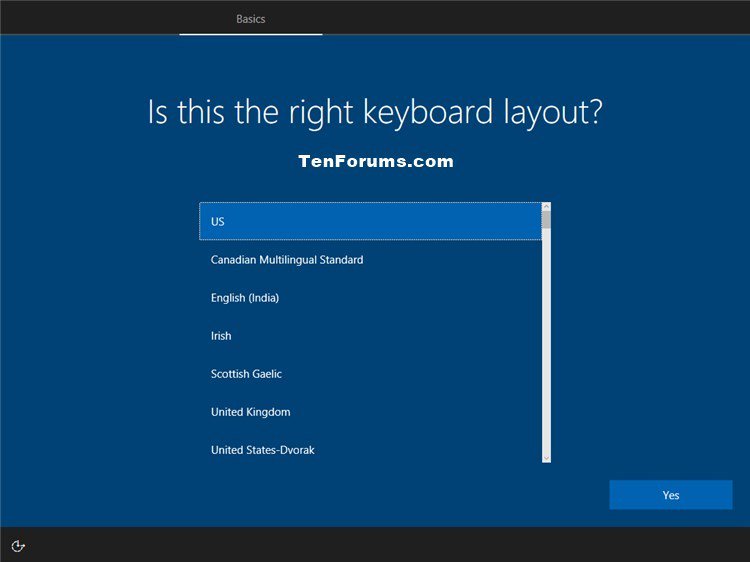
Select your keyboard layout
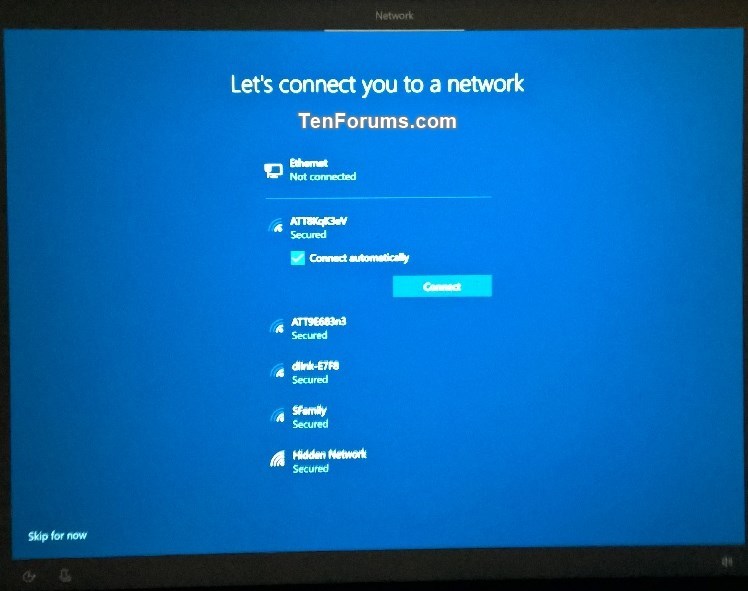
Select WiFi Network you don’t have wifi to press skip For Now
Enter your username and pass after this step your Windows is installed